New to the Credible Layer dApp? Start with the dApp Overview to understand what the dApp is and what it can do.
Prerequisites
- The Credible Layer CLI (
pcl) must be installed. If you don’t have it installed, follow the pcl quickstart guide. - You must be authenticated with the dApp (see Authentication below).
- You should have smart contracts deployed that you want to protect with assertions.
Authentication
Before using the dApp, authenticate through thepcl:
- Run the authentication command:
-
The
pclwill provide a login link. Open it in your browser. - Connect your wallet when prompted.
- Enter the login code displayed in the CLI.
- You’re now authenticated and can use the dApp!

Authentication with `pcl auth login`
Authentication links your wallet address with your CLI session, allowing you to manage projects that your wallet owns.
pcl commands, refer to Using pcl and pcl Reference.
Exploring Projects
To browse existing projects and their security measures:- Click the “Transparency” tab in the navigation bar.
- Browse all projects on the Credible Layer.
- Search for specific projects by name or contract address.
-
Click on any project to view:
- Project details and description
- Linked contract addresses
- Active assertions protecting the contracts
- Assertion implementation details
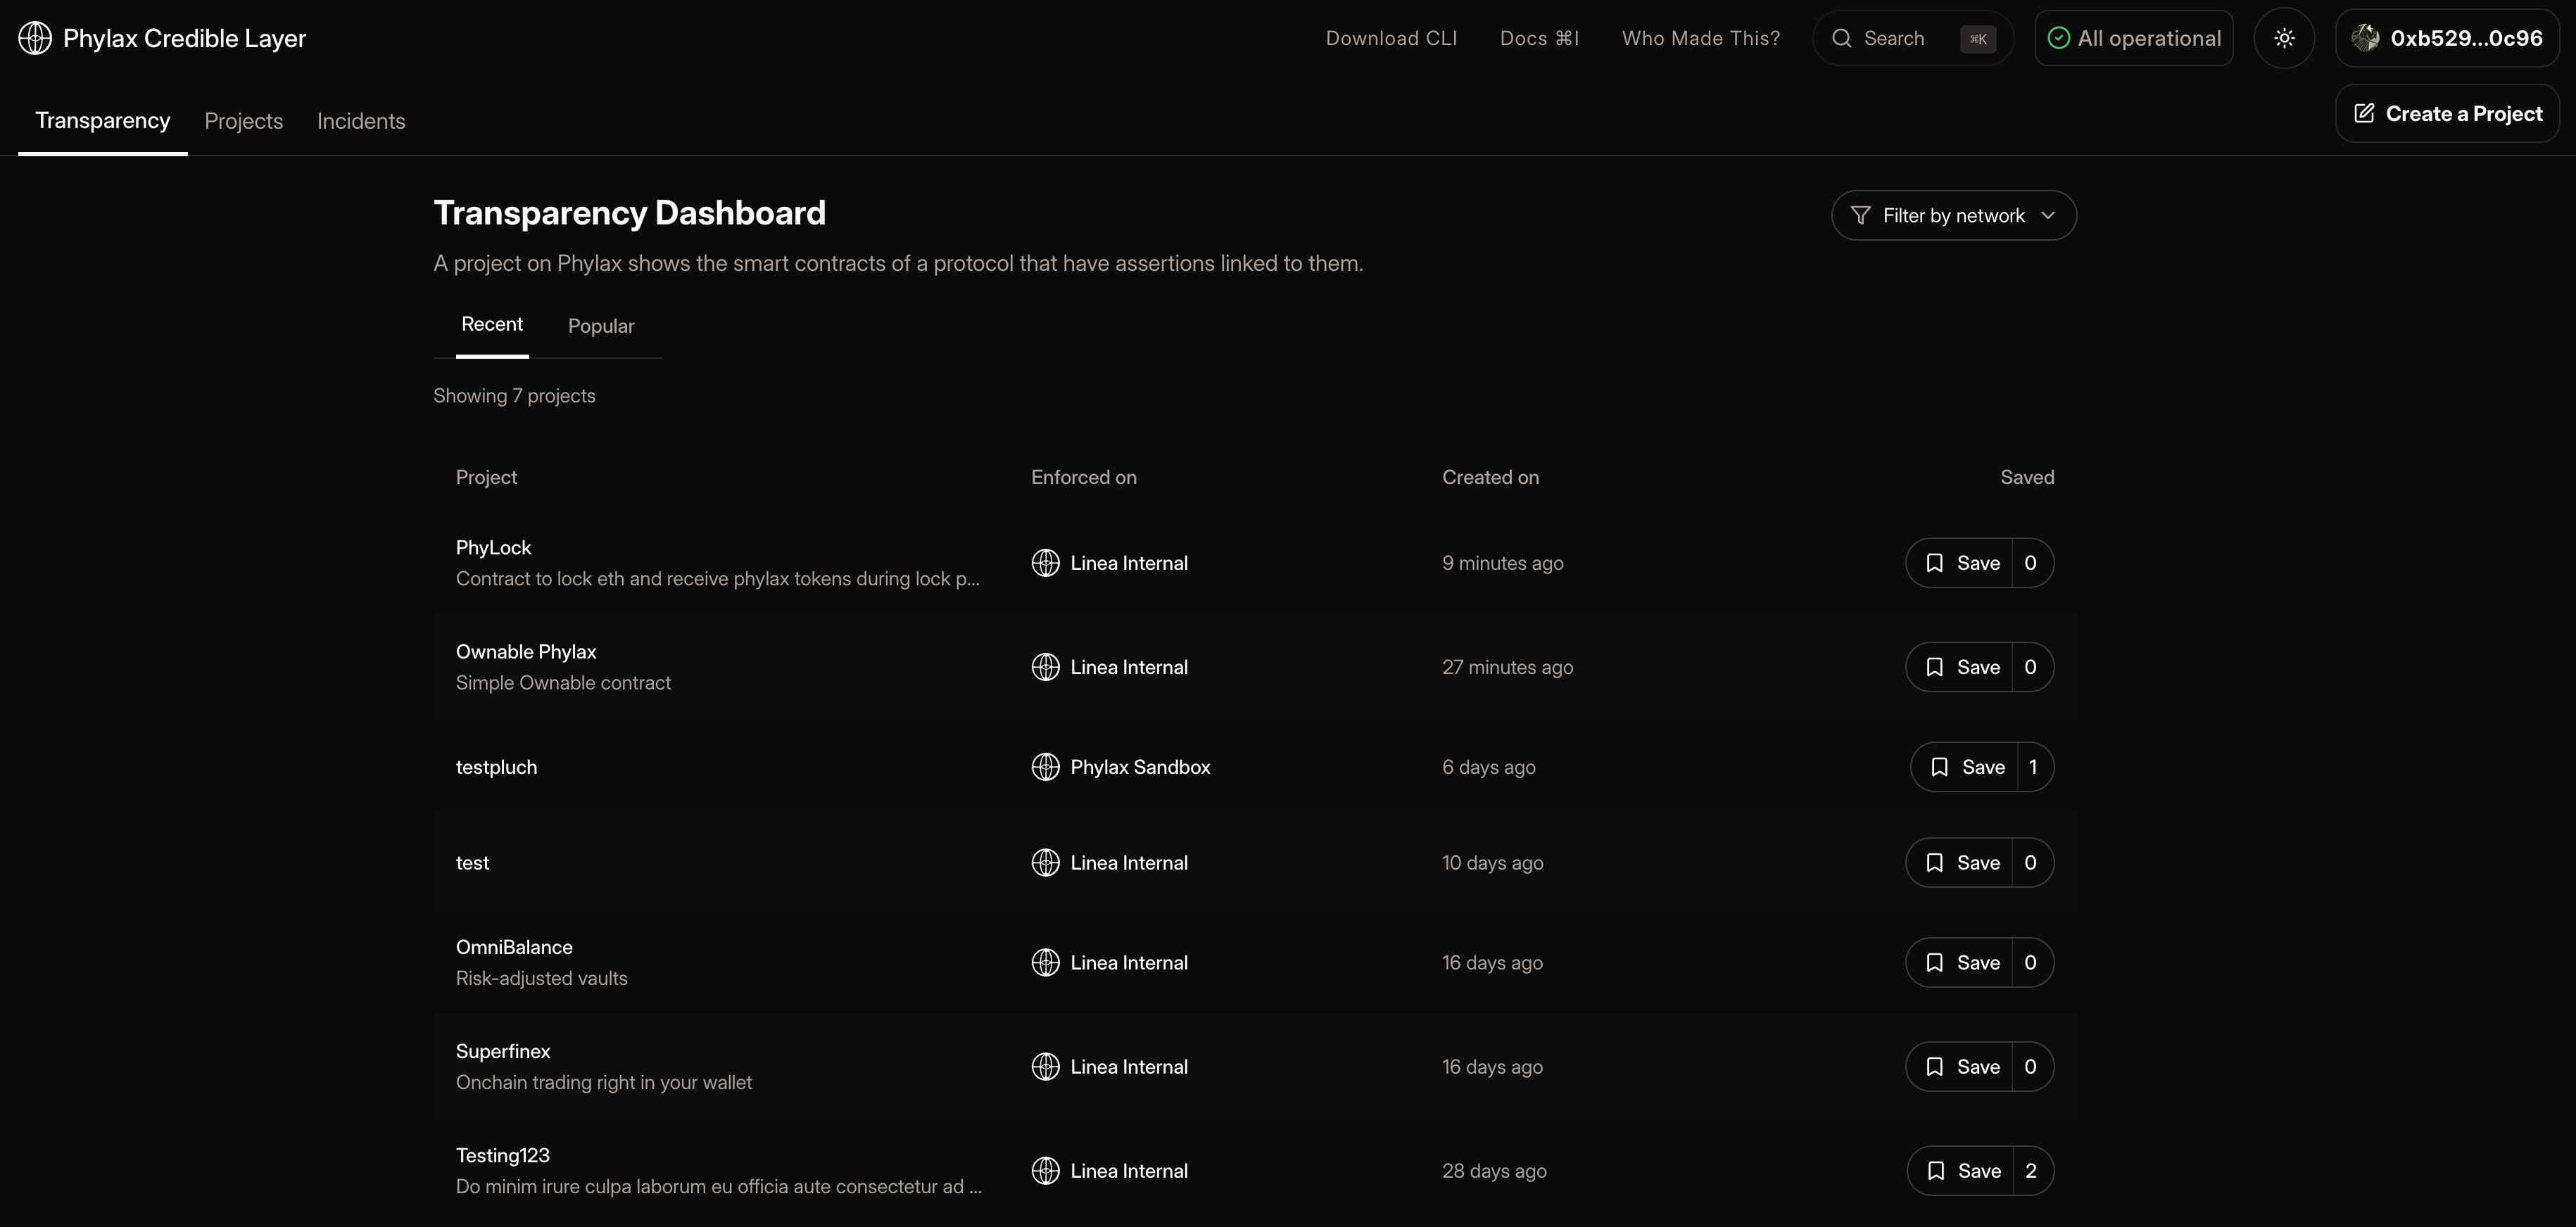
Transparency Dashboard
Creating a Project
To create a new project for your smart contracts:- Navigate to the “Projects” tab or click “Create a Project” in the top right corner of the dApp
- Click “Create a project”
-
Enter project details:
- Project Name: Typically matches your smart contract or protocol name
- Project Description: Brief explanation of what your project does
- Target Chain: The blockchain where your contracts are deployed
- Click “Continue to contract selection”
-
Add one or more contract addresses:
- Enter each contract address you want to protect
- Only contracts where you are the
ownercan be added - The dApp verifies ownership by calling the
owner()function on each contract
- Review your project details
- Click “Save and publish” to create the project

Creating a Project in the dApp
Only the owner of a contract can create a project for it. Additional verification methods will be available in the future. For now, ensure your contract has an
owner() function that returns the current owner address.For more details, see Ownership Verification.Linking Assertions to Your Project
Once your project is created, you can link assertions to protect your contracts. This is a two-step process: storing the assertion and submitting it through the dApp.Step 1: Store and Submit via CLI
First, use thepcl CLI to store and submit your assertion:
-
Store the assertion bytecode:
Example:
-
Submit the assertion to your project:
Example:
Step 2: Deploy via dApp
After submitting viapcl, complete the deployment process in the dApp:
- Navigate to your project
- Click on the “Deployment” tab
- Find your assertion in the list and click “Proceed to Review”
- Select the target contract you want to protect with this assertion
-
Review the assertion details:
- Assertion name and parameters
- Target contract address
- Trigger conditions
- Choose whether to deploy to Staging (for testing) or Production (for active protection)
- Click “Deploy” to link the assertion to your contract and sign the transaction
- Confirm the transaction in your wallet

Deploying Assertion in the dApp
Deploying the assertion and signing the transaction completes the deployment process. After deployment, your assertion enters a timelock period. During this period, it is marked for enforcement (production) or marked for staging (staging environment). After the timelock expires, the assertion becomes enforced (production) or staged (staging), actively protecting your contract.
Managing Your Assertions
After deploying assertions, you can manage them through your project dashboard:- View Active Assertions: See all assertions currently protecting your contracts
- Monitor Status: Check assertion execution status and any triggered violations
- Update Assertions: Submit new versions of assertions as your protocol evolves
- Remove Assertions: Remove assertions if needed
Complete Walkthrough Video
Here’s a full video walkthrough of the entire process from authentication to activating assertions:Troubleshooting
”Contract ownership verification failed”
- Ensure your contract has an
owner()function that returns an address - Verify you’re connected with the wallet that owns the contract
- Check that the contract address is correct
”Assertion already exists”
- Each assertion can only be submitted once per project
- Use a different assertion name or update the existing assertion
”Authentication expired”
- Run
pcl auth loginagain to refresh your session - Keep your CLI session active while using the dApp